Pinch Pots:

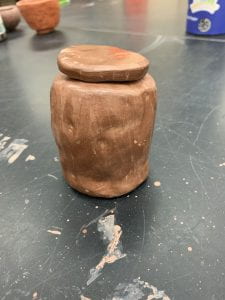


Pinch pots were the first thing we made in pottery 1, and is a basic concept that can be used in many different projects. Even though it is a simple process to make the bowls, I still struggle with smoothing out the bowls and making them have even wall thickness. We had to make 4 bowls in total: 2 of which had to be wider than they are tall and the other 2 were taller than wide. I chose to use one of each to add Terra Sigillata to. I have never used this before, so it was really cool to see the effect that this had on the finished result of the pots. The process of adding the Terra Sigillata to the pots was interesting because we painted it on and then we had to rub out all the air bubbles trapped in it. We added a few coats and then after each coat we would smooth it with our fingers, but eventually we used plastic to make it smooth and add a “shimmer” to the pots. This material made the pots very smooth, sort of softer, and added a different color tint to them. I really like this technique because it makes the clay look colored and gives it a rustic effect. I think this technique would be super cool to use on a slab because slabs are super smooth and already have even wall thickness, so this would make the project pop a lot more. Also it would be cool to do a project with this but only add it to certain spots, or use this for a project that was about nature, because the finished result looks very natural.
Exposed Coils:
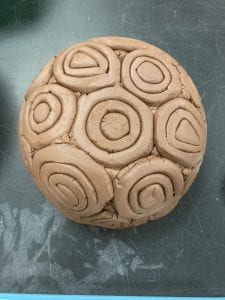

Making exposed coils was a new way to make a bowl using previous techniques that I was very familiar with. To start making it I had to get a plastic bowl to use as a mold, and then add a plastic bag on top of it in order to make the clay not stick to the mold. I began by trying to make a bunch of different sized coils and then tried I to manipulate the shape they were. I started with a circular one for the center, and then tried to make squares, ovals, and triangle coils to add along the outsides of it. Throughout this process I had to work on joining the coils properly, and making sure that they all fit inside the mold. Once I filled the whole bowl with all of the coils, I had to take little pieces of clay to fit inside of the gaps between the other coils. After that, I worked on smoothing the center so that the inside was smooth, and no longer had exposed coils. I had to use a rubber rib and slip to smooth the inside of the bowl out a lot. After I finished the outside/inside of the bowl I worked on smoothing out the lip of the bowl, so that it was more even and not rough. I let the bowl dry inside the mold in the bag over the hurricane break so that it wouldn’t crack or change shape. Once we got back from the break, I was able to take my bowl out of the mold. The bowl was in a leather-hard stage, so I was able to try and smooth out the minor cracks on the parts of the exposed coils that were on the outside. The whole process of making this bowl was a new concept to me, but I loved this technique and how it looks on the outside, yet it still has a smooth center.